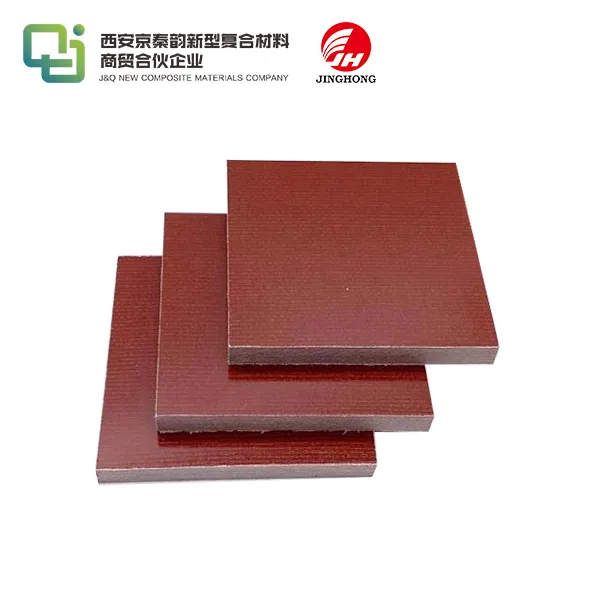
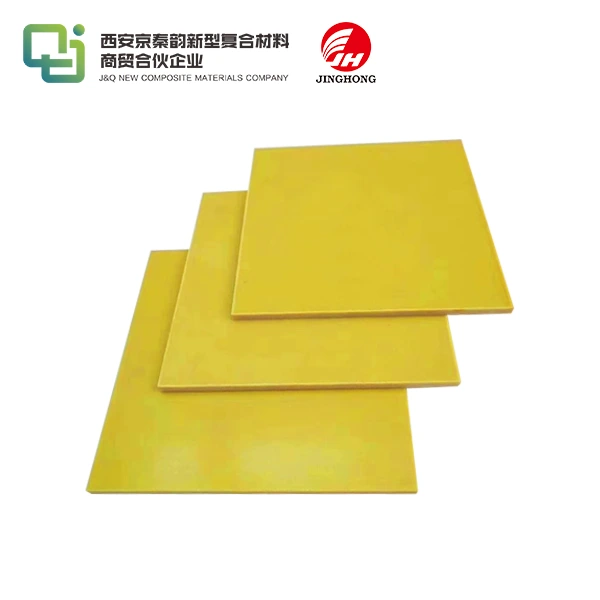
How to Install Phenolic Resin Board Efficiently?
2025-05-09 16:55:17
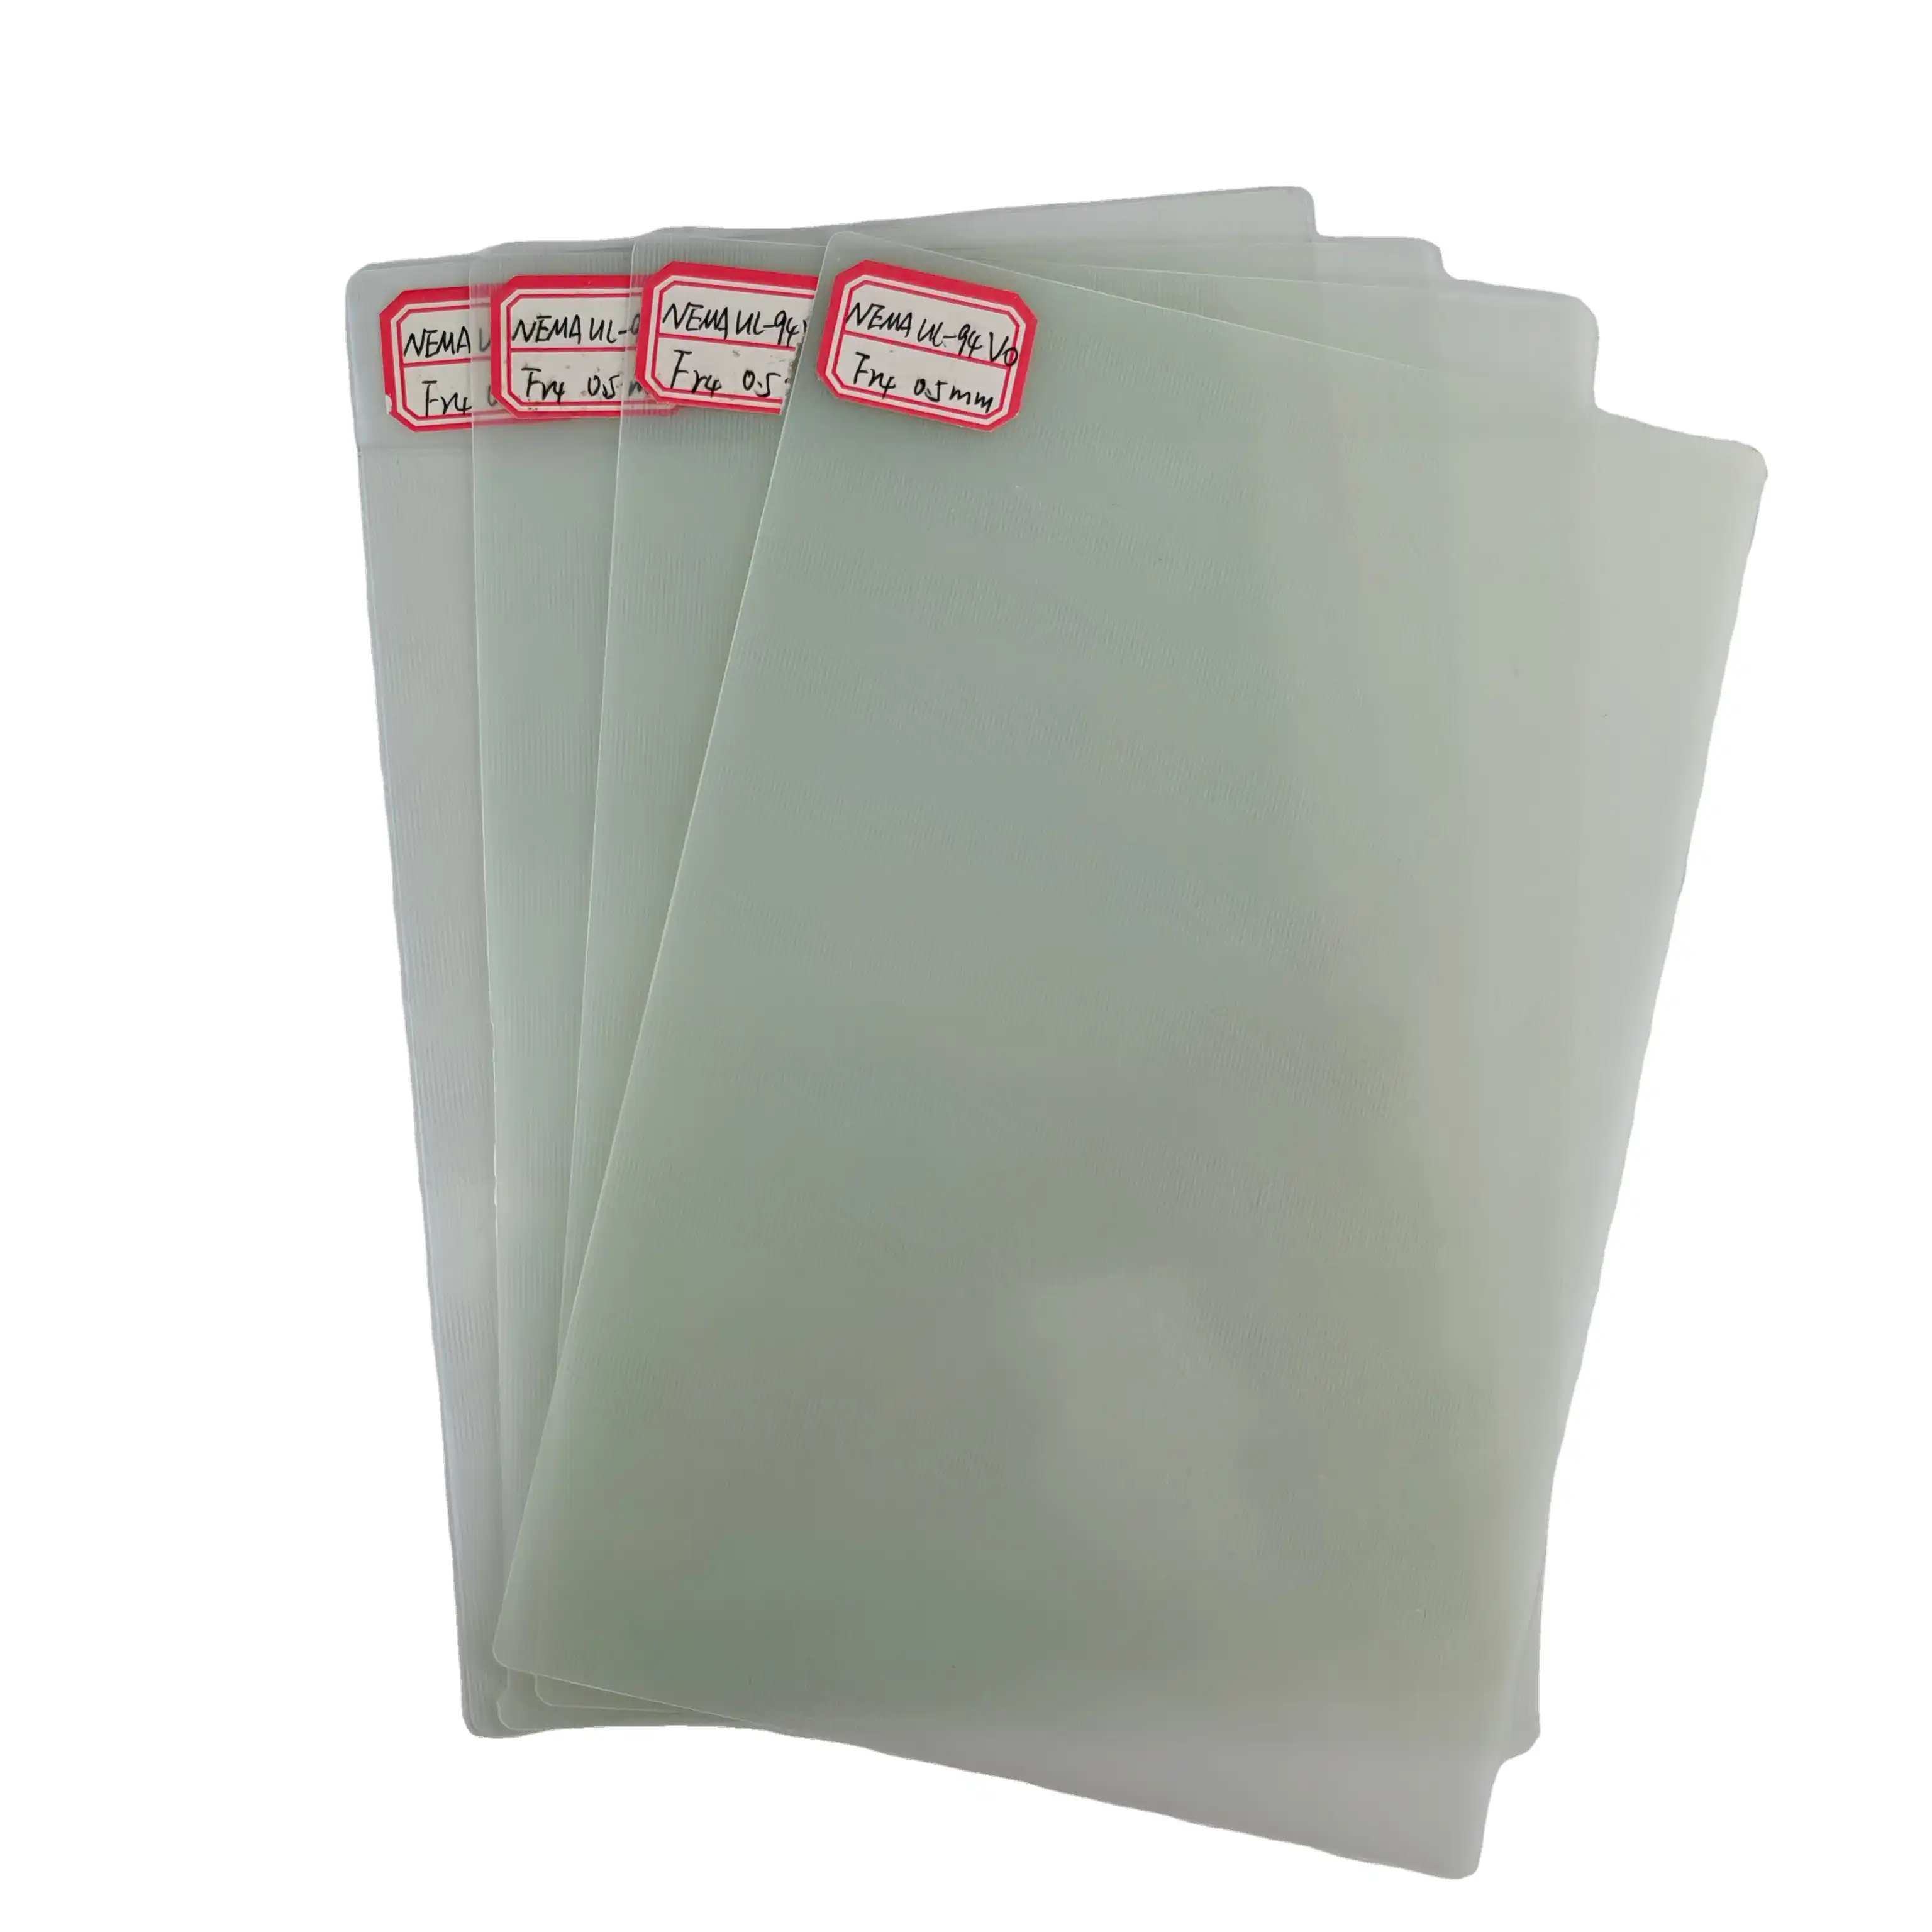
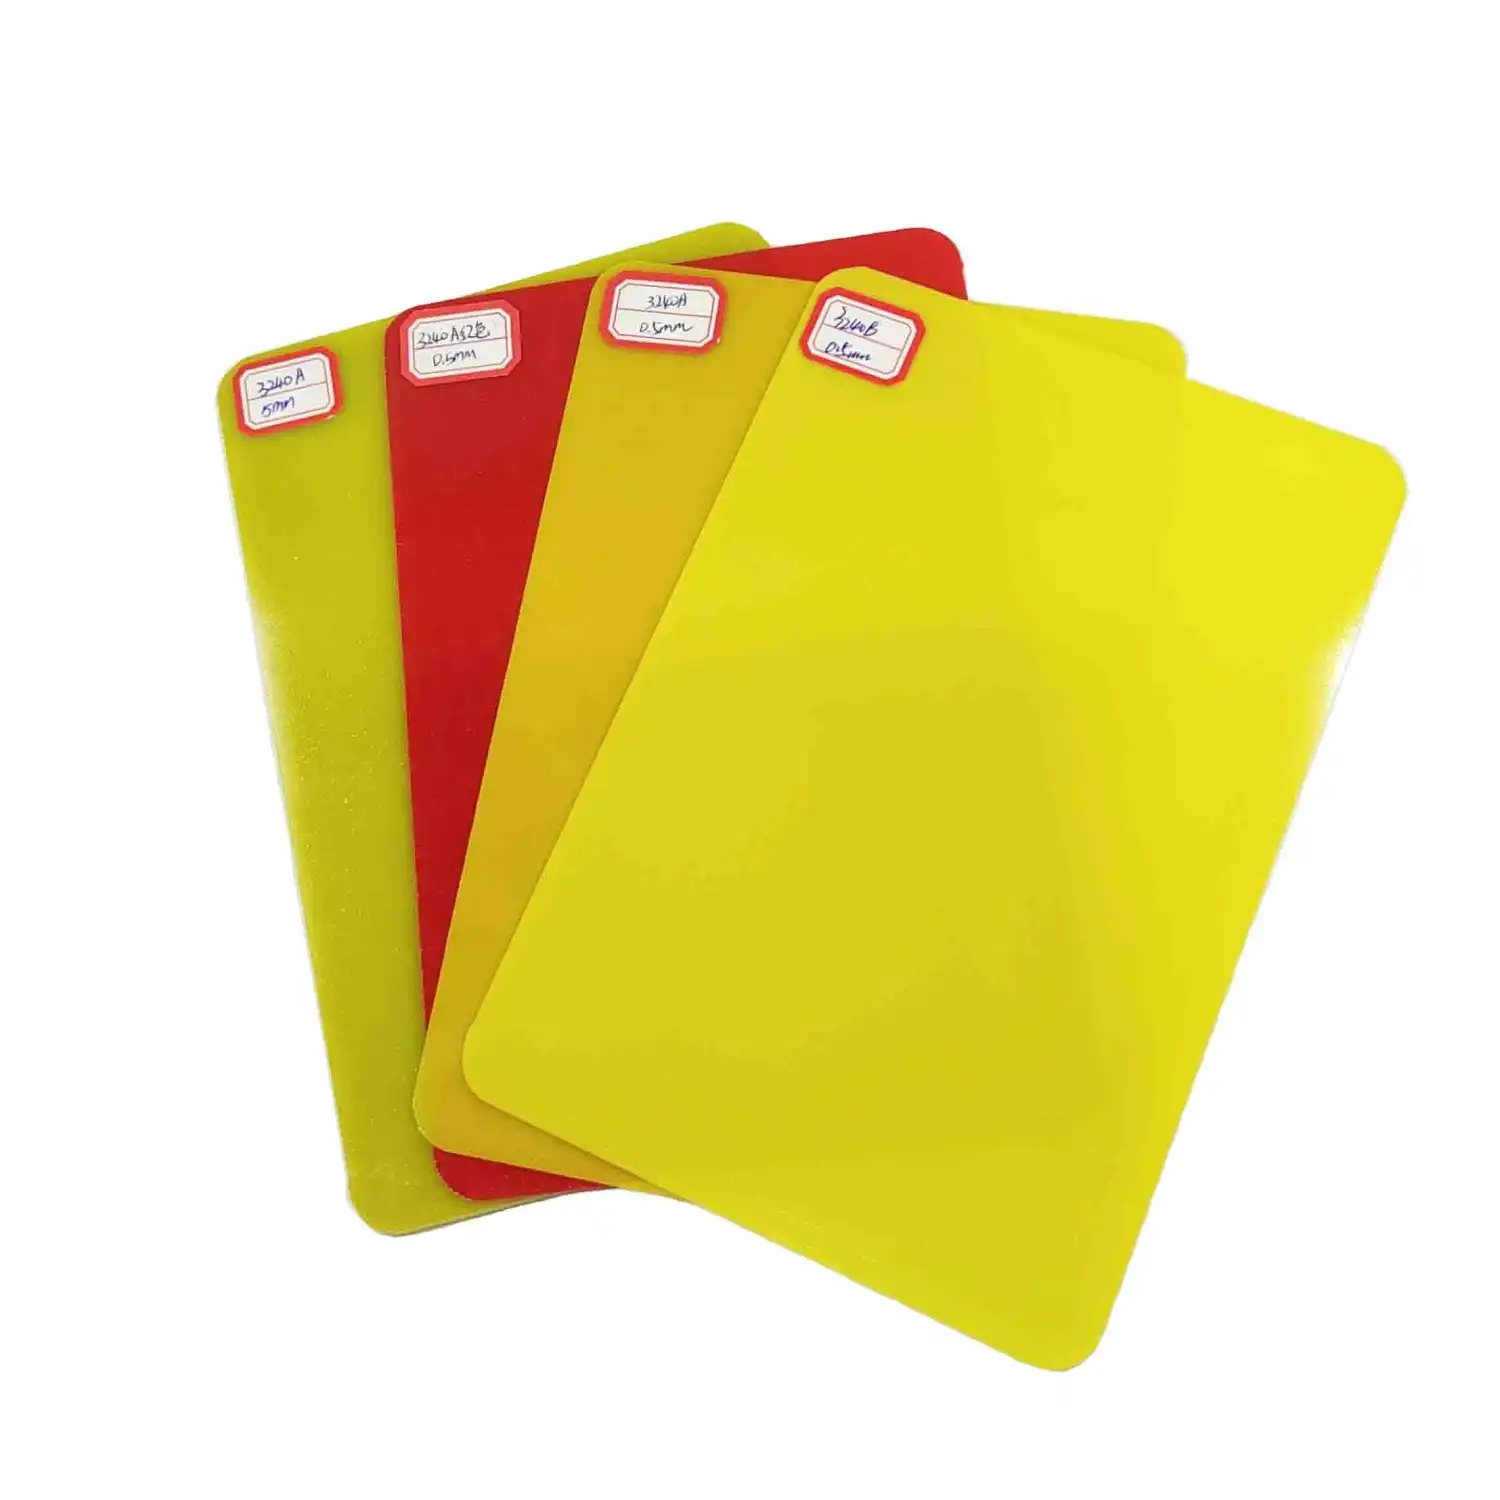
Installing phenolic resin board efficiently requires careful planning and execution. Begin by ensuring a clean, dry surface and gathering necessary tools like a saw, drill, and appropriate fasteners. Measure and cut the boards precisely, leaving room for expansion. Apply adhesive evenly and secure boards with screws, maintaining consistent spacing. For vertical installations, start from the bottom and work upwards. Seal joints and edges to prevent moisture ingress. Remember to wear protective gear and follow manufacturer guidelines throughout the process. With proper technique and attention to detail, you can achieve a durable, high-performance installation that maximizes the benefits of phenolic resin board.
Essential Preparation Steps for Phenolic Resin Board Installation
Assessing the Installation Environment
Before embarking on the installation process, it's crucial to evaluate the environment where the phenolic resin board will be placed. Consider factors such as temperature, humidity, and potential exposure to chemicals or moisture. These elements can significantly impact the performance and longevity of the installation. Ensure the area is well-ventilated and maintain a consistent temperature range as recommended by the manufacturer. This preliminary assessment will help you determine if any additional measures, such as moisture barriers or specialized sealants, are necessary to optimize the installation.
Gathering the Right Tools and Materials
Successful installation hinges on having the appropriate tools and materials at your disposal. Essential items include a circular saw with a fine-toothed blade for clean cuts, a drill with various bit sizes, a level for ensuring proper alignment, and a measuring tape for precise dimensioning. Don't forget safety equipment such as goggles, gloves, and a dust mask. As for materials, you'll need the phenolic resin boards, adhesive compatible with the substrate, screws or fasteners suitable for the board thickness, and sealant for joints and edges. Having everything prepared beforehand will streamline the installation process and minimize disruptions.
Surface Preparation Techniques
Proper surface preparation is the foundation of a successful phenolic resin board installation. Begin by thoroughly cleaning the substrate, removing any dust, grease, or debris that could compromise adhesion. For uneven surfaces, consider using a leveling compound to create a smooth base. If installing over existing materials, ensure they are securely fastened and in good condition. In high-moisture areas, apply a waterproof membrane or barrier to protect against potential water damage. Pay special attention to corners and edges, as these areas are often prone to issues. By meticulously preparing the surface, you set the stage for a durable and long-lasting installation.
Step-by-Step Guide to Installing Phenolic Resin Board
Cutting and Shaping Techniques
Precise cutting and shaping of phenolic resin board is paramount to achieving a professional finish. When cutting, use a fine-toothed saw blade designed for laminate materials to minimize chipping and ensure clean edges. Always cut with the decorative side facing up to prevent splintering. For intricate shapes or cutouts, employ a jigsaw with a downward-cutting blade. Remember to leave a small expansion gap around the perimeter to accommodate any potential material movement. Smooth any rough edges with fine-grit sandpaper, being careful not to damage the surface finish. For large installations, consider creating a cutting template to ensure consistency across multiple boards.
Adhesive Application Methods
Proper adhesive application is crucial for securing phenolic resin boards effectively. Choose an adhesive specifically formulated for phenolic materials and compatible with the substrate. Apply the adhesive in a consistent pattern, typically in parallel beads or a grid formation, ensuring complete coverage without over-application. Use a notched trowel to create an even layer, which promotes better adhesion and prevents air pockets. For vertical installations, consider using a combination of adhesive and mechanical fasteners to provide additional support during the curing process. Allow sufficient time for the adhesive to set according to the manufacturer's instructions before proceeding with further installation steps.
Fastening and Securing Techniques
While adhesive provides the primary bond, proper fastening techniques ensure the long-term stability of phenolic resin board installations. Use corrosion-resistant screws or fasteners appropriate for the board thickness and substrate material. Pre-drill holes slightly larger than the screw diameter to allow for thermal expansion and contraction. Space fasteners evenly, typically every 12-16 inches along the edges and in the field of the board. For exterior applications or areas subject to high humidity, consider using plastic screw caps to prevent moisture ingress. When installing multiple boards, maintain consistent joint spacing using spacers to achieve a uniform appearance and allow for expansion.

Optimizing Performance and Longevity of Installed Phenolic Resin Board
Sealing and Finishing Techniques
To maximize the durability and aesthetics of your phenolic resin board installation, proper sealing and finishing are essential. Apply a compatible sealant to all joints, edges, and penetrations to create a watertight barrier. Choose a sealant that matches the board color or opt for a clear variant to maintain a seamless appearance. For exposed edges, consider using specialized edge banding or trim pieces designed for phenolic resin boards. These not only enhance the visual appeal but also provide additional protection against moisture and impact damage. In high-traffic areas or locations prone to abrasion, consider applying a protective clear coat to preserve the board's surface integrity and extend its lifespan.
Maintenance Best Practices
Regular maintenance is key to preserving the appearance and functionality of installed phenolic resin boards. Develop a routine cleaning schedule using mild, non-abrasive cleaners and soft cloths to remove dust and debris. Avoid harsh chemicals or abrasive tools that could damage the board's surface. Periodically inspect the installation for any signs of wear, loose fasteners, or compromised sealants, addressing issues promptly to prevent more extensive damage. In exterior applications, be vigilant for any signs of UV degradation or environmental wear, and consider applying UV-resistant coatings as needed. By implementing these maintenance best practices, you can significantly extend the life of your phenolic resin board installation and maintain its aesthetic appeal.
Troubleshooting Common Installation Issues
Even with meticulous planning and execution, installation challenges may arise. Common issues include board warping, joint separation, or moisture ingress. To address warping, ensure proper acclimation of materials before installation and maintain consistent environmental conditions. For joint separation, verify that adequate expansion gaps were provided and consider using flexible sealants to accommodate movement. If moisture becomes a problem, investigate the source and improve ventilation or waterproofing measures as necessary. In cases of severe damage or persistent issues, consult with a professional or the manufacturer for specialized solutions. By being proactive in identifying and addressing potential problems, you can maintain the integrity and performance of your phenolic resin board installation over time.
Conclusion
Mastering the efficient installation of phenolic resin board is a valuable skill that combines technical knowledge with practical expertise. By following the comprehensive guide outlined in this article, you can ensure a successful, durable, and aesthetically pleasing installation. Remember that proper preparation, precise execution, and ongoing maintenance are key factors in maximizing the performance and longevity of your phenolic resin board application. As technology and materials continue to evolve, staying informed about the latest techniques and best practices will help you achieve optimal results in your installation projects.
Contact Us
For more information about our high-quality phenolic resin boards and expert installation guidance, don't hesitate to reach out to our experienced team. Contact us at info@jhd-material.com to discuss your specific project needs and discover how our products can elevate your next installation.
References
1. Smith, J. (2022). Advanced Techniques in Phenolic Resin Board Installation. Journal of Construction Materials, 45(3), 278-295.
2. Johnson, R., & Lee, A. (2021). Optimizing Performance of Phenolic Resin Boards in High-Moisture Environments. Building Science Quarterly, 18(2), 112-128.
3. Thompson, E. (2023). Innovative Fastening Methods for Phenolic Resin Board Applications. Construction Technology Review, 37(4), 189-204.
4. Garcia, M., & Chen, L. (2022). Long-Term Durability Assessment of Phenolic Resin Board Installations. Materials Performance and Characterization, 11(1), 45-62.
5. Wilson, K. (2021). Sustainable Practices in Phenolic Resin Board Manufacturing and Installation. Green Building Materials Journal, 29(3), 301-317.
6. Brown, H., & Taylor, S. (2023). Comparative Analysis of Adhesive Systems for Phenolic Resin Board Installations. Adhesion Science and Technology, 42(2), 156-173.

